Design a Native Garden (Step-by-Step)

Updated: May 20
A Simple, Visual Guide Anyone Can Follow

For inspiration, visit local native gardens like Red Butte Gardens in Salt Lake City
Step 1: Start With What You Have

Create a Basemap:
Sketch your property from above
Include:
House
Driveway
Paths
Existing trees
Use: Google Earth - Read our blog on How to Create a Landscape Design Basemap Using Google Earth
Your basemap is your foundation.
Step 2: Observe Your Land

What First to Look for When Designing Your Garden:
What direction does your house face: North, south, east west?
Where is it sunny vs shady?
Where does water flow?
Wind exposure?
Dry vs moist areas?
What are the differnt elevations, hills, slopes?
Draw arrows and notes right on a version of your map.
This is where smart native planting begins.
Step 3: Draw Bubble Zones. How Do You Want to Use Your Yard?

Design it Fast - Use Bubble Zones
Use circles (bubbles) for areas:
Patio
Garden beds
Lawn (if any) Where do kids or pets play?
Native meadow
No details yet—just placement. Divide your yard into zones:
Public (front yard) Where do people gather?
Private (hangout spaces) Where do you want quiet?
Functional (storage, compost, work areas)
Design around life, not just plants. This is where your yard starts to take shape.
Step 5: Plan How You Move Through It
Draw Movement Lines - How Will You Move Through the Space?:
Front door → backyard
House → seating area
Paths people naturally take
Thick lines = high trafficThin lines = occasional use
Design for flow, not friction.
Step 6: Place Your Native Plant Zones
Group Plants by Water Needs - Hydrozones
Low water (native backbone)
Moderate (transition areas)
Higher (Avoid, but if needed, near house)
This is where native design shines:
Less water
Less maintenance
More resilience
Learn About Native Plants
Visit local native nurseries
Visit local gardens
Scroll though Cache Valley Native Plants
Step 7: Shape the Design

Choose a Style That You Like:
Natural + flowing
Clean + structured
A mix of both

Then:
Shape planting beds
Define edges
Place gathering areas
This is where it becomes beautiful.
Step 8: Add Plants (Think in Groups)
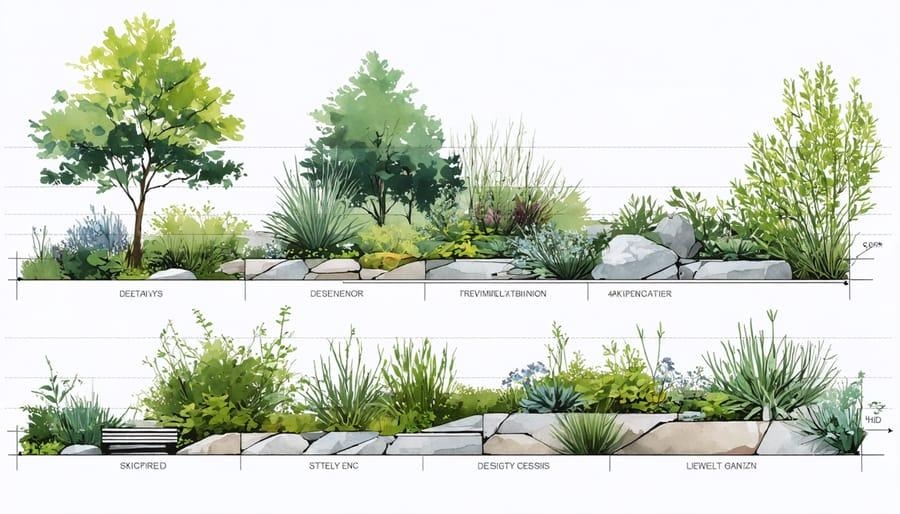
Key idea: plant in groups, Plants like Community.
Trees anchor the space
Shrubs create structure
Grasses + perennials fill and soften
Focus on:
Repetition
Layers
Seasonal interest
This is how native gardens feel intentional, not wild.
Step 9: Refine + Simplify

Keep tweaking it! Ask yourself:
Does it flow?
Is it simple enough to maintain?
Does it reduce water use?
If not—simplify.
The best designs are clear, not complicated.
The Big Idea

Designing a native garden isn’t about perfection.
It’s about:
Understanding your land
Working with nature
Creating something that lasts
And when you do it right, you get:
Lower water use
Healthier soil
More birds, pollinators, and life
A yard that actually feels like it belongs
A beautiful space that you can be proud of


Comments